Keep track of increases, decreases, rows, or stitches, using stitch counters!
- In Project Library, open a Project, and then expand Pattern Instructions.
- Click on the Green (+) Symbol on the bottom right of the screen.
- Enter a name for your new counter in the pop up box, and click ‘Save changes.’ Your counter will appear listed below, where you can edit the name. Add additional counters to the list as needed.
- A green counter box will have appeared at the bottom right of your screen. Click on the plus sign to count up or the minus sign to count down.
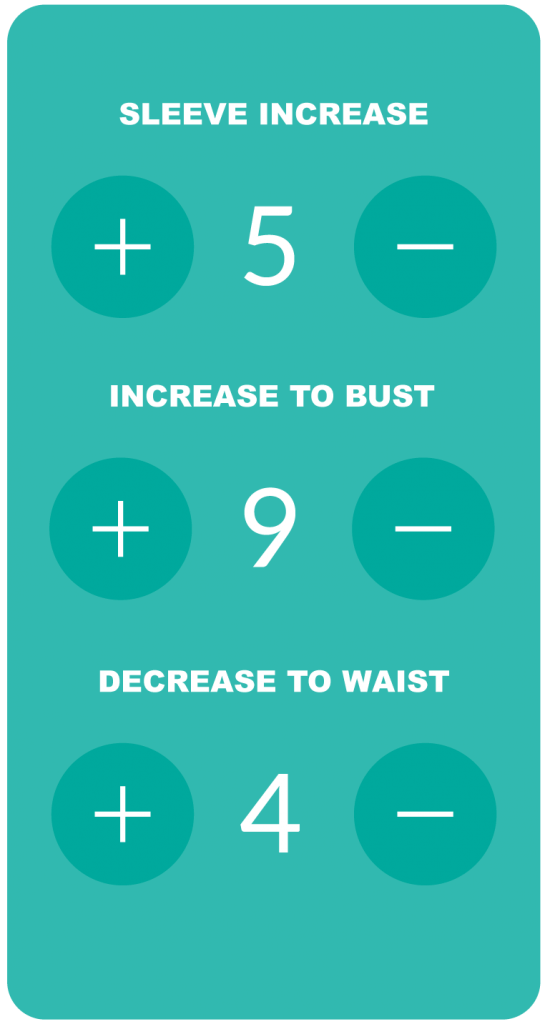